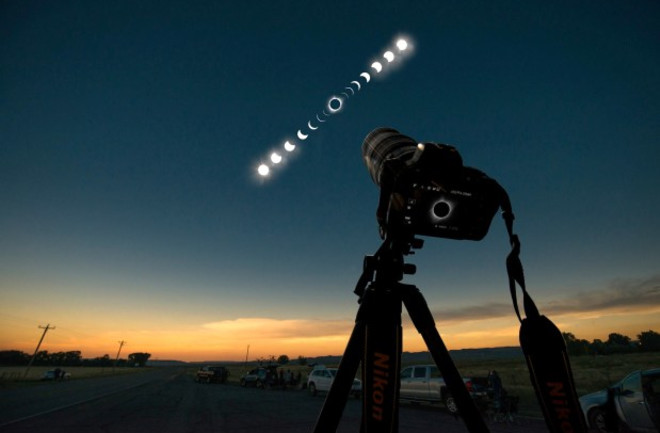
Taking good eclipse photos is harder than it looks. The last Great American Eclipse, on Aug. 21, 2017, was photographed by hundreds of thousands of people — and many of them were probably disappointed in their results. Overexposure, blurriness, and camera malfunctions are all concerns if you aren’t prepared. Here are some tips you can follow that might help you take better pictures of eclipses this month and beyond.
1. Select Your Equipment
Decide what optics you’ll be shooting through. It could be a camera lens or the tube of a telescope. Also decide what you’ll be shooting with: a digital single-lens reflex camera (DSLR) or mirrorless camera, a point-and-shoot camera, or your cellphone. Most importantly, you’ll need an approved solar filter that goes over the front of your optics.
2. Practice As Much As You Can
Don’t take your first pictures of the Sun on eclipse day. Take some test shots first. To do that, go outside on a sunny day, aim your filtered camera at the Sun, and shoot. (NOTE: When not looking through your filtered optics, wear solar glasses to protect your eyes as you look toward the Sun.) Set your lens to a fixed aperture — somewhere between f/8 and f/16 — and take a range of exposures. Examine the images and narrow them down to the best two or three. That’s when to look at the EXIF data, where all the shooting details will be. Remember, the Sun remains bright throughout the eclipse, so you won’t have to change exposure times until the disk is a thin crescent. At that point, add two more exposure stops.